


On-Premise NetScaler Console recovery to a new installation.
A bit of a rework of CTX482161

Hello!
Acme industries had a problem with NetScaler Console on-premise, Bob fat fingered the HA Pair and broke one of the nodes. My colleagues in support offered CTX482161 as a solution. You can read that here.
The problem that Mayank, the engineer at Acme asked me about:
‘We need to move the licenses too, how can we do that seamlessly, Andrew?’
I know what you are thinking:
Are they really on first-name terms?
How hard could it be?
The following steps create a rebuilt NetScaler Console node, with the settings from the original and the licenses.
Prepare ADM1
Citrix recommends you restore the ADM server using a backup of the same version, so first ensure that your existing ADM server (ADM1) and the new ADM server (ADM2) are both on the same firmware version.
Log in to your ADM1 administration GUI
Save the configuration on your ADM1.
On your ADM1 navigate to Settings > Backup Files
Click on the Backup button
You may choose to password protect your backup file. if you do, select the option Password Protect file and enter and confirm your password.
Select Continue
The backup process will start; this may take several minutes, depending on how much data your ADM1 contains.
Once the backup process is completed, you will be presented with a list of the last 3 backup files present on your ADM1. Select the backup you just created and then select the Download option.
Your backup .tgz file will start downloading.
Ensure that the licenses installed on ADM1 are obtained. Take a snapshot of the files that it has and the Host ID that this node uses. The HostId will be needed for the networking stack on ADM2 later on.
This concludes all the steps that need to be taken on your ADM1.
Shutdown ADM1.
At this point, the NetScalers that get licenses from this node will go into Grace(720 hours). The ADM2 steps can be done quite quickly, so it isn’t a problem. ADM1 can be brought back if needed(yikes!).
Prepare ADM2
15. Spin up ADM2 VM with the same MAC address (before booting it up) and the same version of software. That is exactly the same release.
16. Follow the wizard and assign
Name, IP address, Netask, Gateway. Save and boot it up.
Log in to your ADM2 administration GUI, sometimes it needs a bit of time to allow login.
Set a new nsroot password, use the same as ADM1.
Ensure telemetry is working, this sometimes requires the DNS to be checked and reset. Then go back to telemetry and run a diagnostic check. Get green checks..
On your ADM2 navigate to Settings > Backup Files
Click on the Upload button and select the .tgz backup file previously downloaded from your ADM1.
Once the upload has been completed, you will see the backup file on the list of System Backup File on your ADM2.
Select the backup file from the list and select the Restore option.
Select Yes from the confirmation pop-up.
The restore process will begin and may take several minutes to complete.

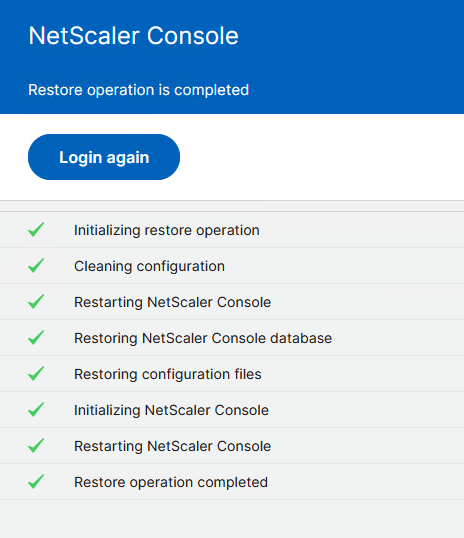
Start the restore.. It took about 15-20 minutes to do this in my lab.

Complete the restore.. Once the restore process is complete, you can access your ADM2 and confirm that the configuration and data from your ADM1 are now on your ADM2.

Licensing setup.
The next stage is to re-import the licenses that were saved earlier. The step earlier, where the mac was re-used from ADM1 will save re-assigning licenses to the new (ADM2) node.

1. Add the licenses in sequence.
2. When they are all added, ‘apply’ them.
3. Given time, the various NetScaler appliances will check back in with the new node and take the capacity that they were using before.
Summary
Hopefully this helps someone...